- Wall Putty, a versatile material, serves as a crucial intermediary layer between the wall and paint. Its primary functions include:
- Wall Putty is used to fill cracks, dents, and imperfections on the wall’s surface. This ensures a smooth and flawless base for painting.
- By creating a strong adhesive bond, Wall Putty enhances the durability of paint, preventing it from peeling or chipping.
- It helps achieve a uniform and visually appealing finish, making your walls look flawless and attractive. Wall Putty has been a trusted companion of painters and interior designers for years. Its ability to transform an ordinary wall into a masterpiece is truly remarkable.
Types of Wall Putty
There are several types of Wall Putty available, each catering to specific needs:
- Acrylic Wall Putty
Acrylic Wall Putty is known for its quick drying properties and excellent adhesion. It is suitable for both interior and exterior applications.
This type of Wall Putty forms a strong bond with the wall surface, providing a smooth and even canvas for painting.
Acrylic Wall Putty is also highly resistant to moisture, ensuring that your paint job remains pristine for years.
- Cement-Based Wall Putty
Cement-Based Wall Putty is a popular choice for repairing and leveling concrete surfaces.
Its high adhesive properties make it ideal for filling cracks and holes. Moreover, it effectively prevents water seepage, making it suitable for both interior and exterior walls.
Cement-Based Wall Putty is durable and can withstand the test of time, ensuring that your walls remain flawless for years to come.
- Gypsum-Based Wall Putty
Gypsum-Based Wall Putty is perfect for interior walls. It provides a smooth finish and is easy to apply.
This type of Wall Putty is lightweight and offers excellent adhesion. It is also known for its fire-resistant properties, making it a safe choice for homes and offices.
Gypsum-Based Wall Putty is available in both powdered and ready-to-use forms, making it convenient for various applications.
- White Cement Wall Putty
White Cement Wall Putty is popular for its white finish, making it an excellent choice for painting. It is suitable for interior walls and provides a smooth and elegant surface for your paint job.
This type of Wall Putty is easy to apply and dries quickly, saving you time and effort. The white finish enhances the vibrancy of paint colors, giving your walls a fresh and inviting look.
How to Choose the Right Wall Putty
Choosing the right Wall Putty is crucial for achieving the desired results in your painting project. Here are some factors to consider when making your selection:
- Surface Type
Consider the type of surface you’ll be applying Wall Putty to. Some Wall Putty types, like cement-based ones, are suitable for concrete surfaces, while others may be better for drywall or plaster.
- Interior or Exterior Application
Determine whether you need Wall Putty for interior or exterior walls. Certain types, such as acrylic and cement-based Wall Putty, are designed to withstand outdoor conditions.
- Desired Finish
Think about the finish you want to achieve. If you’re looking for a smooth and even surface, gypsum-based or white cement Wall Putty may be your best bet.
- Budget
Consider your budget for the project. While some Wall Putty types may be more expensive, they may offer better durability and performance.
- Drying Time
Check the drying time of the Wall Putty. Depending on your project’s timeline, you may need a quick-drying option.
- Brand and Quality
Opt for reputable brands and high-quality Wall Putty to ensure long-lasting results. Cheap, low-quality Wall Putty may not provide the desired finish and durability.
Expert Tips for Using Wall Putty
To make the most of Wall Putty, consider these expert tips:
- Clean the Surface Thoroughly: Before applying Wall Putty, ensure that the wall surface is clean and free from dust, grease, and loose particles. Cleaning the surface thoroughly will help the Wall Putty adhere better.
- Use a High-Quality Primer: After applying Wall Putty, it’s essential to use a high-quality primer. The primer improves paint adhesion, enhances color consistency, and prolongs the life of your paint job.
- Apply Wall Putty Evenly: To achieve a smooth finish, apply Wall Putty evenly using a putty knife or a trowel. Avoid leaving thick or uneven patches, as they can affect the final paint finish.
- Allow Sufficient Drying Time: Wall Putty requires adequate drying time before you can proceed with painting. The drying time varies depending on factors like humidity and temperature, so follow the manufacturer’s instructions.
Wall Putty Application Process
To give you a more in-depth understanding, let’s walk through the step-by-step process of applying Wall Putty:
Step 1: Surface Preparation
- Begin by cleaning the wall thoroughly to remove any dust, dirt, or loose particles.
- Fill any visible cracks or holes in the wall with Wall Putty.
Step 2: Mixing Wall Putty
- Depending on the type of Wall Putty you’re using, follow the manufacturer’s instructions to prepare a smooth paste. This typically involves mixing the putty with clean water.
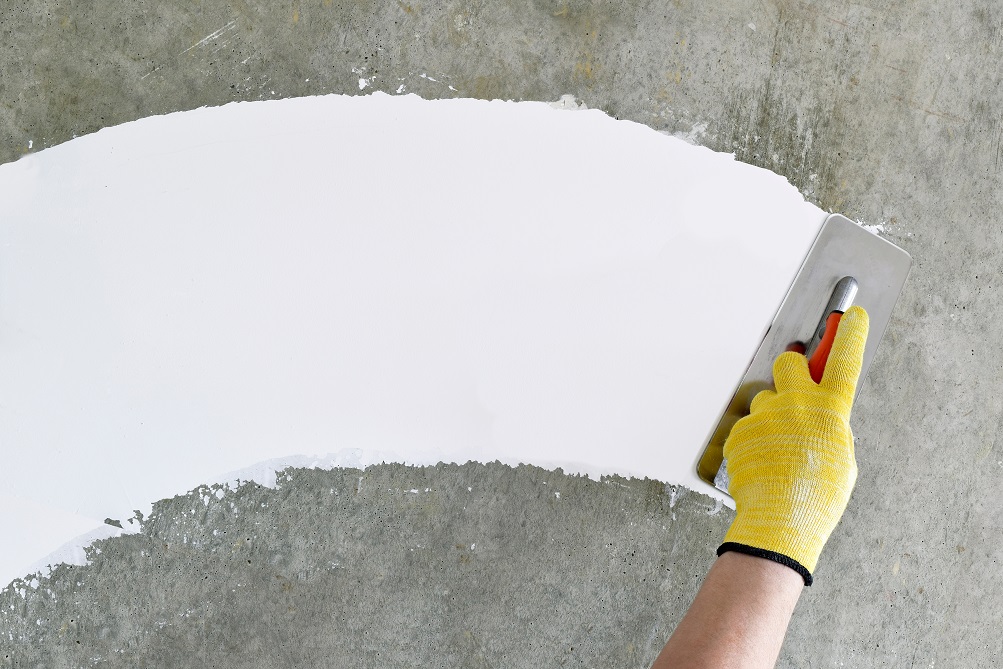
Step 3: Application
- Apply a thin layer of Wall Putty on the wall using a putty knife or trowel.
- Spread the putty evenly, ensuring a uniform coating across the surface.
- Let it dry for the recommended time, usually 6-24 hours, depending on the type of Wall Putty and environmental conditions.
Step 4: Sanding
- After the Wall Putty is completely dry, use sandpaper to smoothen the surface further.
- Sanding helps in achieving a seamless finish, free from imperfections.
Step 5: Priming
- Apply a high-quality primer to the prepared surface.
- Priming enhances adhesion and ensures an even paint finish.
Step 6: Painting
- Once the primer is dry, you can proceed with painting your wall with your chosen colors.
Frequently Asked Questions (FAQs)
Q: Can I apply Wall Putty on external walls?
A: Yes, you can use specific types of Wall Putty, like acrylic or cement-based, for external walls. These types are designed to withstand external conditions and provide excellent adhesion.
Q: Is Wall Putty suitable for DIY projects?
A: While it is possible to apply Wall Putty yourself, for best results, it’s recommended to hire a professional. Professionals have the experience and tools to achieve a flawless finish.
Q: How long does Wall Putty take to dry?
A: Drying time varies depending on factors like humidity and the type of Wall Putty used. Typically, it takes 6-24 hours for Wall Putty to dry completely. However, it’s essential to follow the manufacturer’s recommendations.
Q: Can Wall Putty be used on wooden surfaces?
A: Wall Putty is primarily designed for masonry and concrete surfaces. It’s not suitable for wood. For wooden surfaces, consider using wood fillers or putty specifically designed for wood repairs.
Q: Does Wall Putty need primer before painting?
A: Yes, applying a primer after Wall Putty helps improve paint adhesion and enhances the finish. Primer creates a stable base for your paint and ensures that the final colors appear vibrant and consistent.
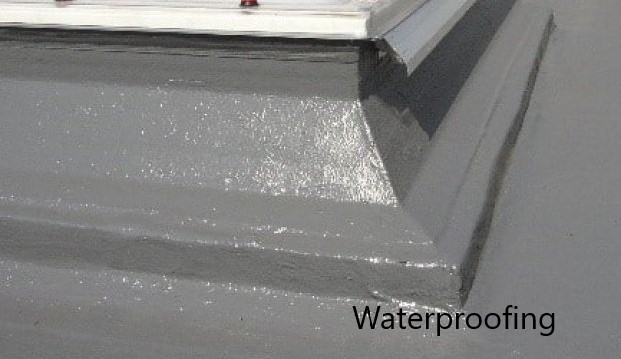
Q: Is Wall Putty waterproof?
A: Some types of Wall Putty, like cement-based ones, offer resistance to dampness and moisture. However, they may not be entirely waterproof. For areas prone to water exposure, it’s advisable to use waterproofing solutions in addition to Wall Putty.